
Centers and Stations in the Music Room
Last year I decided I wanted to try doing centers with my music classes. With some trial and error, both my students and I enjoyed the experience and I felt that it contributed to their overall learning. I hope that by sharing what I learned, you will feel comfortable giving it a try yourself. If you decide to try centers or stations, there are a number of considerations.
Frequency
Given how much content we have to teach and how little time we typically have with students, this is a big consideration. I see each student once a week for fifty minutes. Since I want the majority of my class time to be focused on singing, dancing, playing instruments, and reading music, I do centers once per quarter. This works for me in my situation, but you could also try centers as a unit.
Content
The next step is to figure out what exactly the kids should be doing at the centers. To help you narrow that down, consider the following:
- What do your students in this grade already know? Where are they rhythmically? Melodically? With written notation?
- Where are you taking your students? Are you preparing sixteenth notes? Getting ready to learn the instrument families of the orchestra? How can centers be used to prepare for new information?
- How independent can this grade-level or class be? How many steps can they read and follow on their own in a small group setting? How well do they cooperate?
- How will you organize the materials? How will you re-set between classes, especially if there is no passing time?
In my case, I decided to have two grade levels work on the same centers because I do not have a passing period. I had four centers with activities to support my students’ knowledge of rhythm, melody, and notation. I structured the fourth center to include an assessment.
My students have been successful with a variety of centers. A few that have been effective include:
- Give students a variety of mini-erasers like those available at dollar stores. Students select four erasers to create a word-chain, then figure out what rhythms match the words. For example:
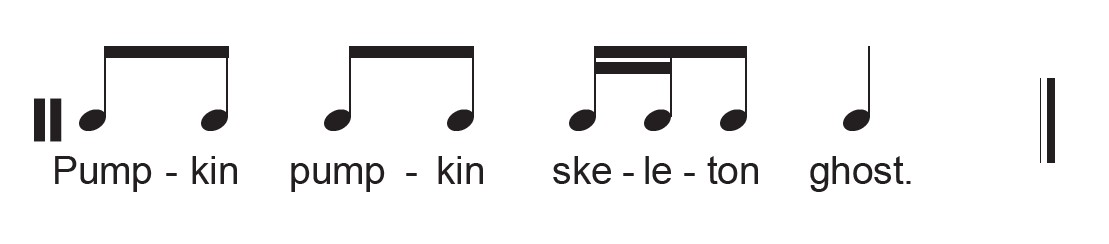
- Provide large staff paper and bingo markers. Students can place the markers on the staff to create melodies using the pitches with which they are familiar.
- Create QR codes to scan with an iPad. These will take students to a listening unit of a favorite composer or musician. My students watched Ella Fitzgerald videos on YouTube (a kid friendly biography, a live performance, and an example of her scat singing.)
- Modify board games to use during centers. Local thrift stores and garage sales are great places to find low-cost games that you can alter to include rhythms and melodies. Once you begin to think about modifying common games to have a musical twist, you’ll discover new ways to use these games to reinforce your music objectives. Two examples I have tried:
- a Twister board with rhythms or notes on the staff and a spinner with the rhythm or note names.
- Jenga pieces with notes of the staff written on them (A, B, C, D, E, F, G). Once a student removes the piece, they have to correctly identify that note on the staff.
- The ActivateOnline worksheets and Sub Tub activities make great options for centers, as well other online resources for music teachers such as Pinterest, Teachers Pay Teachers, and Facebook music educator groups.
Consider how you can modify a center to be appropriate for different ages. In one of my stations, the students create notation. The primary kids mold sculpting dough into treble clefs, rests, and notes while the intermediate kids re-create the same shapes with rubber bands and pegboards.
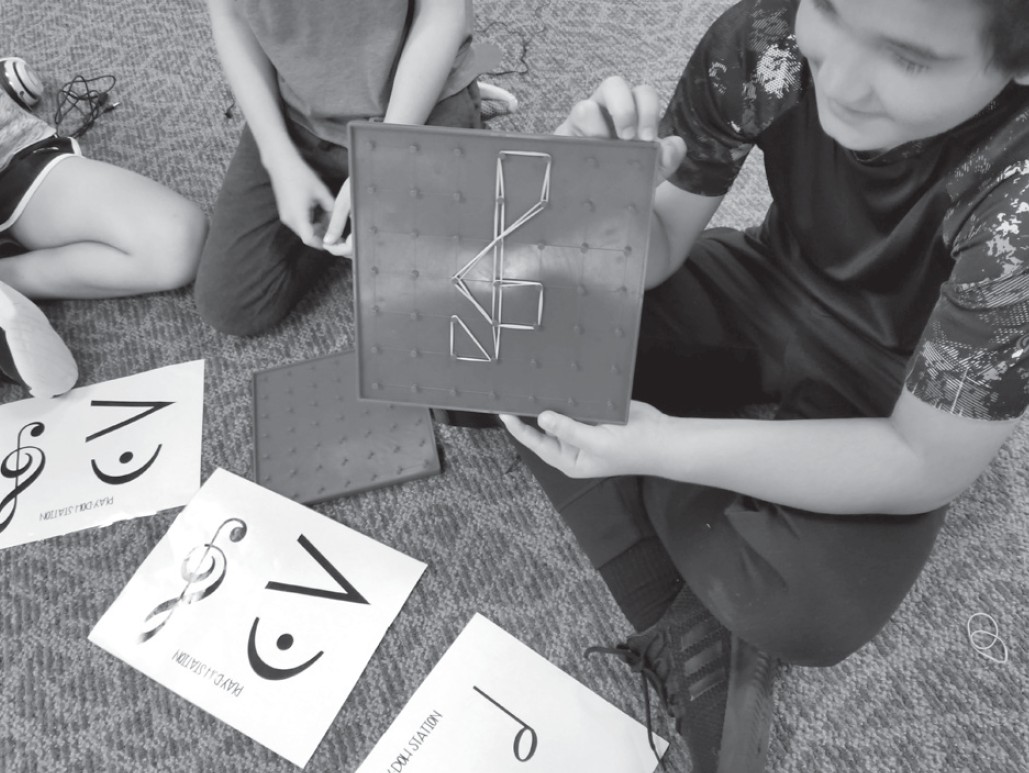
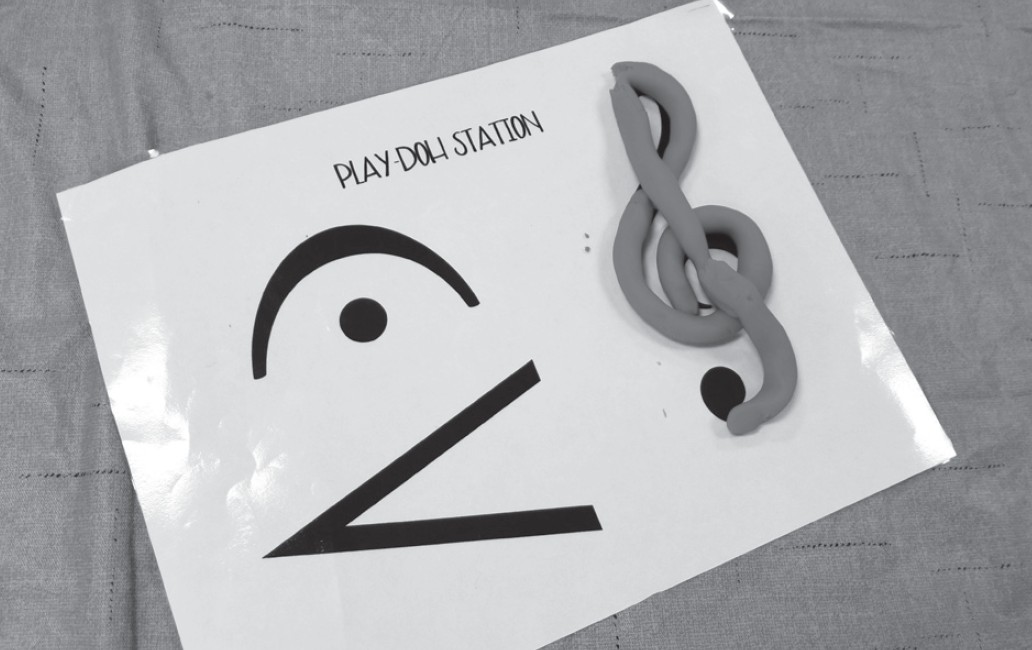
One major advantage of centers is that you can create one center that focuses on assessment. Students can write the rhythmic notation to a known song, write the solfege of a melody under the staff, or identify correct rhythms or melodies at a listening station. My fifth graders listened to me on an unlisted YouTube video and identified the rhythm that they heard out of seven possible answers. They brought their headphones to class and I connected a headphone splitter to my iPad. They sat around it and listened to me as they did their test. When the video was over, they turned in their work and unplugged their headphones.
Preparing the students for success
Your students will need clear instructions before they will be ready to try this new style of music-learning. In my 50-minute class, I set aside ten minutes at the beginning of class to explain the stations, then have students rotate between the four centers every ten minutes. Be sure your instructions are clear and that each center has everything the students need to be successful.
Divide your students so that there are about the same number of kids at each station. I pick a group (boys or girls) to stand up and let them evenly divide themselves at the centers, then the rest of the students do the same. I like giving them choice over who is in their group—though I always have veto power if I know they won’t be successful together!
Once they are split into their groups and working, I move around the room to see how things are going and answer any questions that come up. If one of the centers is an assessment, I can grade the work, record the results in my gradebook, and send the assessments home with the students at the end of class. No grading later! Students also like to see how they did and if they struggled, we can discuss it before they leave class.
Centers require more planning and preparation than my normal music classes, but they are satisfying to see in action. Once you begin doing centers, you will see the creative ways that students can be engaged in musical knowledge and practice. Centers do not take way from your musical objectives and focus, but rather give students a chance to explore another view of music while collaborating and communicating with one another.